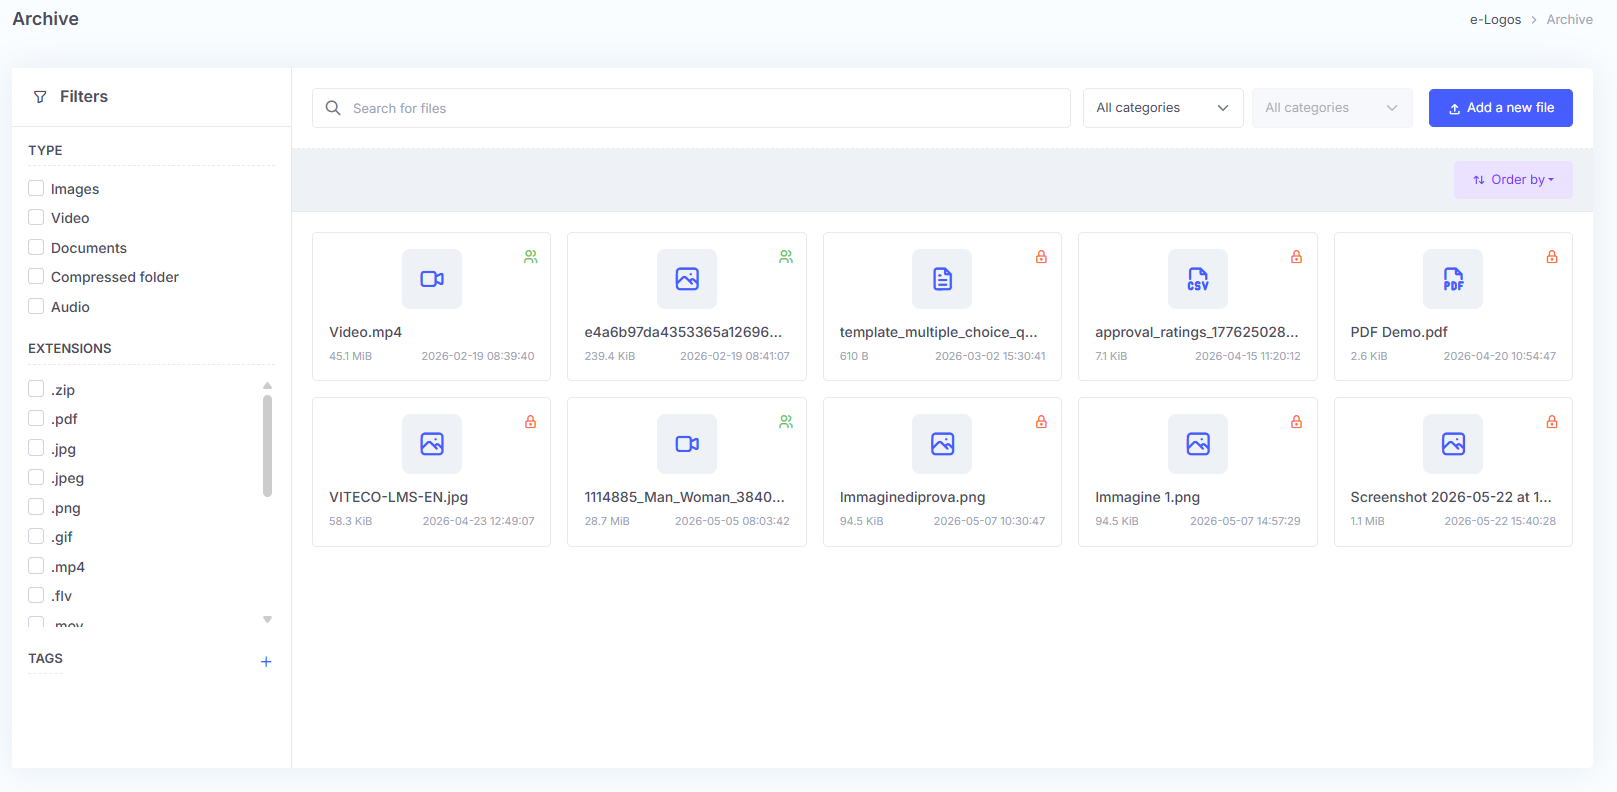
The Archive section allows users to upload educational materials to the platform, which can be accessed by all learners.
Within the archive, files can be filtered by type and extension, as well as organized into categories.
The section can be enabled or disabled from the general settings.
How to add file
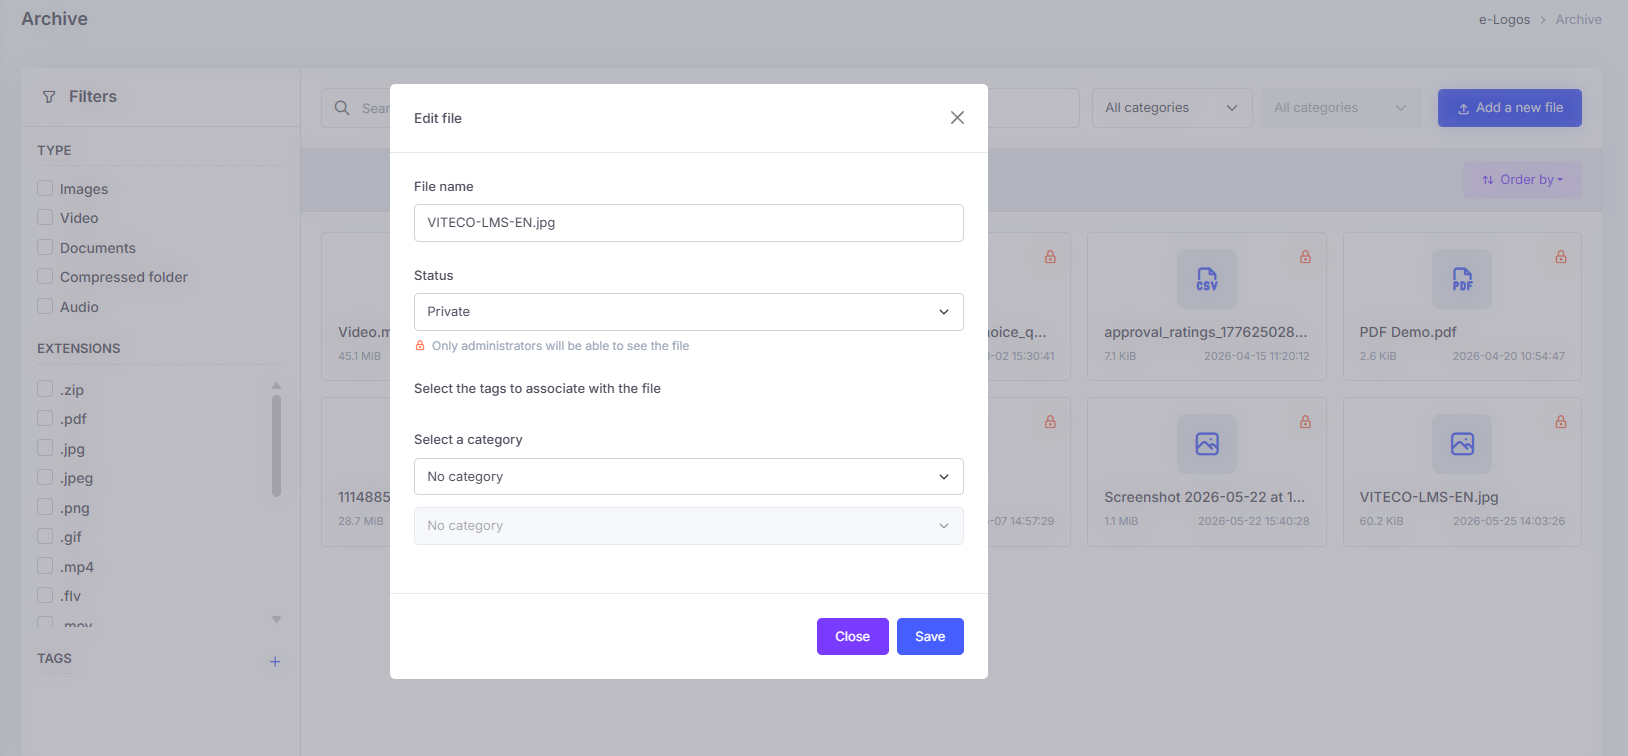
To add a new file, click Add a new fileand drag the file into the indicated area. Once uploaded, users will be asked to complete the following information:
File name;
Status: this refers to the file’s privacy and can be set to three levels:
public: the file will be visible to everyone, including users who have not logged in;
protected: the file will be available only to users who have logged in;
private: the file will be available on the backend but not visible to users.
Categories: users can select one or more categories to organize files and make them easier to find using filters.
After configuring all the options, click Save to complete the upload.
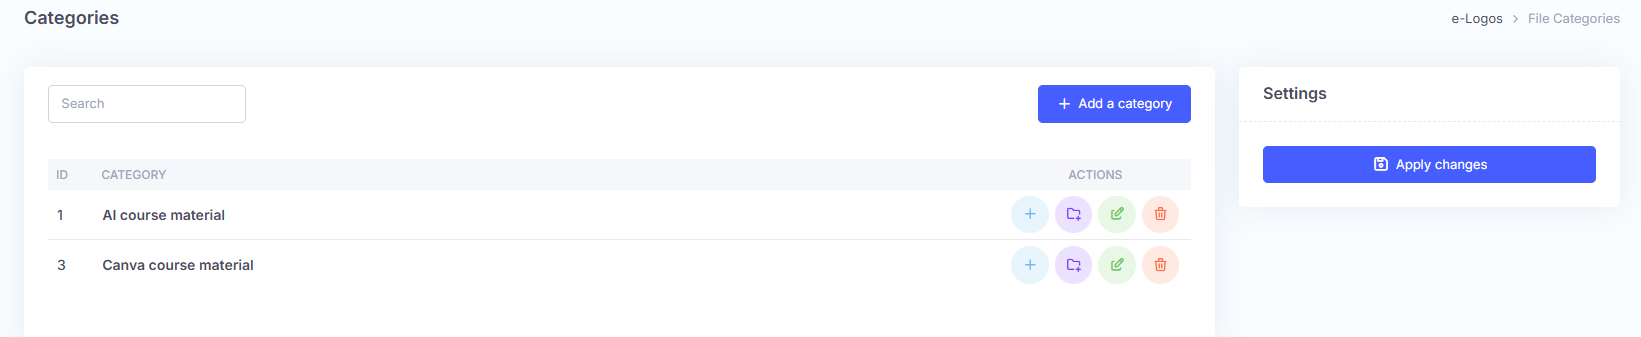
How to create and manage categories
Categories allow users to organize the files uploaded to the Archive, making them easier for users to browse and search.
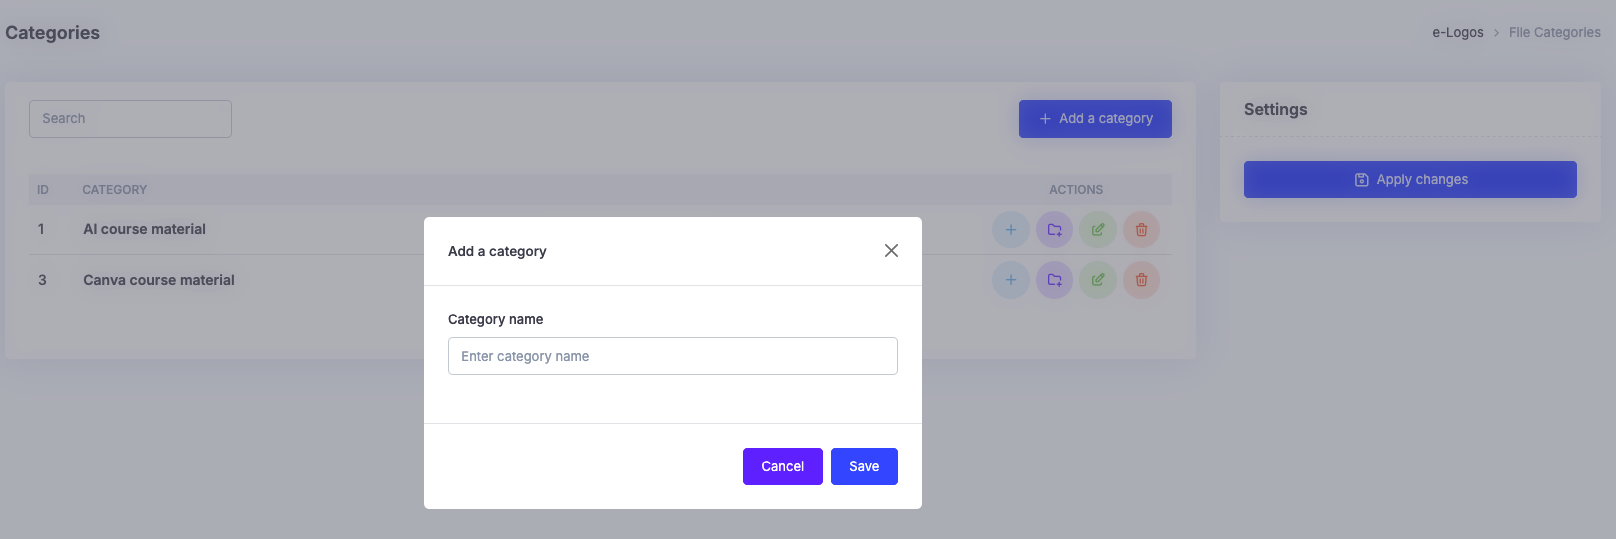
To create a new category, click Add a category and enter the category name.
The new category will be immediately available to be assigned to files during upload or editing.
Once the category has been created, there are 4 buttons on the right, which allow users to:
view the existing subcategories;
create subcategories;
edit: by clicking the green pencil icon, users can edit the name of the existing category.
delete it.
Note: deleting a category will also delete all related subcategories.
This site uses cookies to improve users' browsing experience and to collect information on the use of the site.